
Table of Contents
Achieving architectural clarity requires method. If you want to successfully prep a room for deep cleaning, you must first dismantle the visual noise. Treating sanitation like a structural renovation means removing obstacles before applying solvents. Consequently, this preliminary phase transforms a chaotic chore into a precise, frictionless operation.
1. Eradicate Surface Clutter to Prep a Room for Deep Cleaning
Clearing paper stacks, stray cables, and scattered mail immediately exposes the foundational plane. This vital first step prevents you from simply shifting debris around. Ultimately, a cleared surface reveals hidden micro-dust and stains, ensuring a highly thorough sanitation process.
Spatially, clutter breaks the visual line of a countertop or console. Therefore, scanning a congested surface makes it impossible to assess the true condition of the material beneath. Grab a designated bin. Subsequently, sweep every unmoored item into it without sorting.
This strict parameter keeps your focus locked on sanitation, rather than accidental reorganization. Later, you can curate those items back into their proper zones.

2. Dismantle Shelf Decor and Curated Objects
Artfully arranged sculptures, books, and frames are severe dust traps. Wiping around these objects is an ineffective strategy that guarantees lingering debris. Therefore, entirely clear your shelving units before applying any liquid treatments.
Structurally, shelves demand space to reflect light and shadow properly. Leaving objects in place while dusting merely pushes particulates into crevices. First, transfer all decor to a safe, adjacent surface.
Visually, this blank slate allows you to address the corners and edges of the woodwork. Furthermore, you must individually polish each ceramic or frame before returning it. This restores the pristine atmospheric clarity of your styling.

3. Relocate Lightweight Furniture for Pre-Cleaning Room Clearance
Mobile pieces like ottomans, side tables, and storage baskets obscure baseboards and trap dust bunnies. Pushing them into a hallway creates a vast, unobstructed floor plane. Consequently, your vacuum and mop can glide without geometric interruption.
A room’s structural geometry cannot be fully accessed if secondary furniture clutters the floor plan. Specifically, shadows cast by stools and baskets hide significant particulate buildup. Temporarily banishing these items alters the spatial flow.
Consequently, you expose the true perimeter of the room. You can now execute a seamless sweep of the architectural edges.

4. Roll Up Area Rugs and Textural Runners
Floor textiles prevent access to the hard surfaces beneath them. After vacuuming the rugs themselves, tightly roll and remove them from the space. This strategic action guarantees complete coverage when mopping the foundational flooring.
Rugs anchor a room visually, but they also trap debris against the hardwood or stone below. You cannot sanitize a floor or successfully prep a room for deep cleaning while navigating around a heavy wool border.
Naturally, extracting the rug reveals the entirety of the room’s footprint. If the weather permits, transport these textiles outdoors for UV exposure and airing. Thus, the underlying architecture receives unhindered attention.

5. Remove Pet Beds and Ancillary Bowls
Designated pet zones accumulate hair, water splashes, and organic crumbs. Removing beds, bowls, and toys entirely allows for heavy-duty floor disinfection. Simultaneously, you can launder these fabric items in a separate, isolated zone.
Animals alter the textural integrity of a home through constant friction and shedding. Visually, pet accessories disrupt the clean lines of a kitchen or mudroom. Therefore, gathering these items clears a crucial hotspot.
Furthermore, it allows you to aggressively treat the surrounding baseboards without contaminating drinking water. Ultimately, returning freshly laundered pet beds into a newly sanitized room elevates the entire sensory experience.

6. Strip Blankets, Throws, and Pillows for Clearing Clutter Before Deep Cleaning
Decorative textiles draped over upholstery collect immense ambient dust. Stripping these layers exposes the bare furniture for deep crevice vacuuming. Furthermore, it provides an opportunity to launder the fabrics, refreshing the room’s scent profile.
Layered textiles add warmth, but they actively hinder structural maintenance. Pillows mask the seams where crumbs and lint permanently settle. Consequently, you must strip the upholstery down to its bare frame.
This immediate exposure allows for clinical precision when using vacuum attachments. Crucially, the absence of these soft goods highlights any hidden fabric stains requiring targeted solvent application.

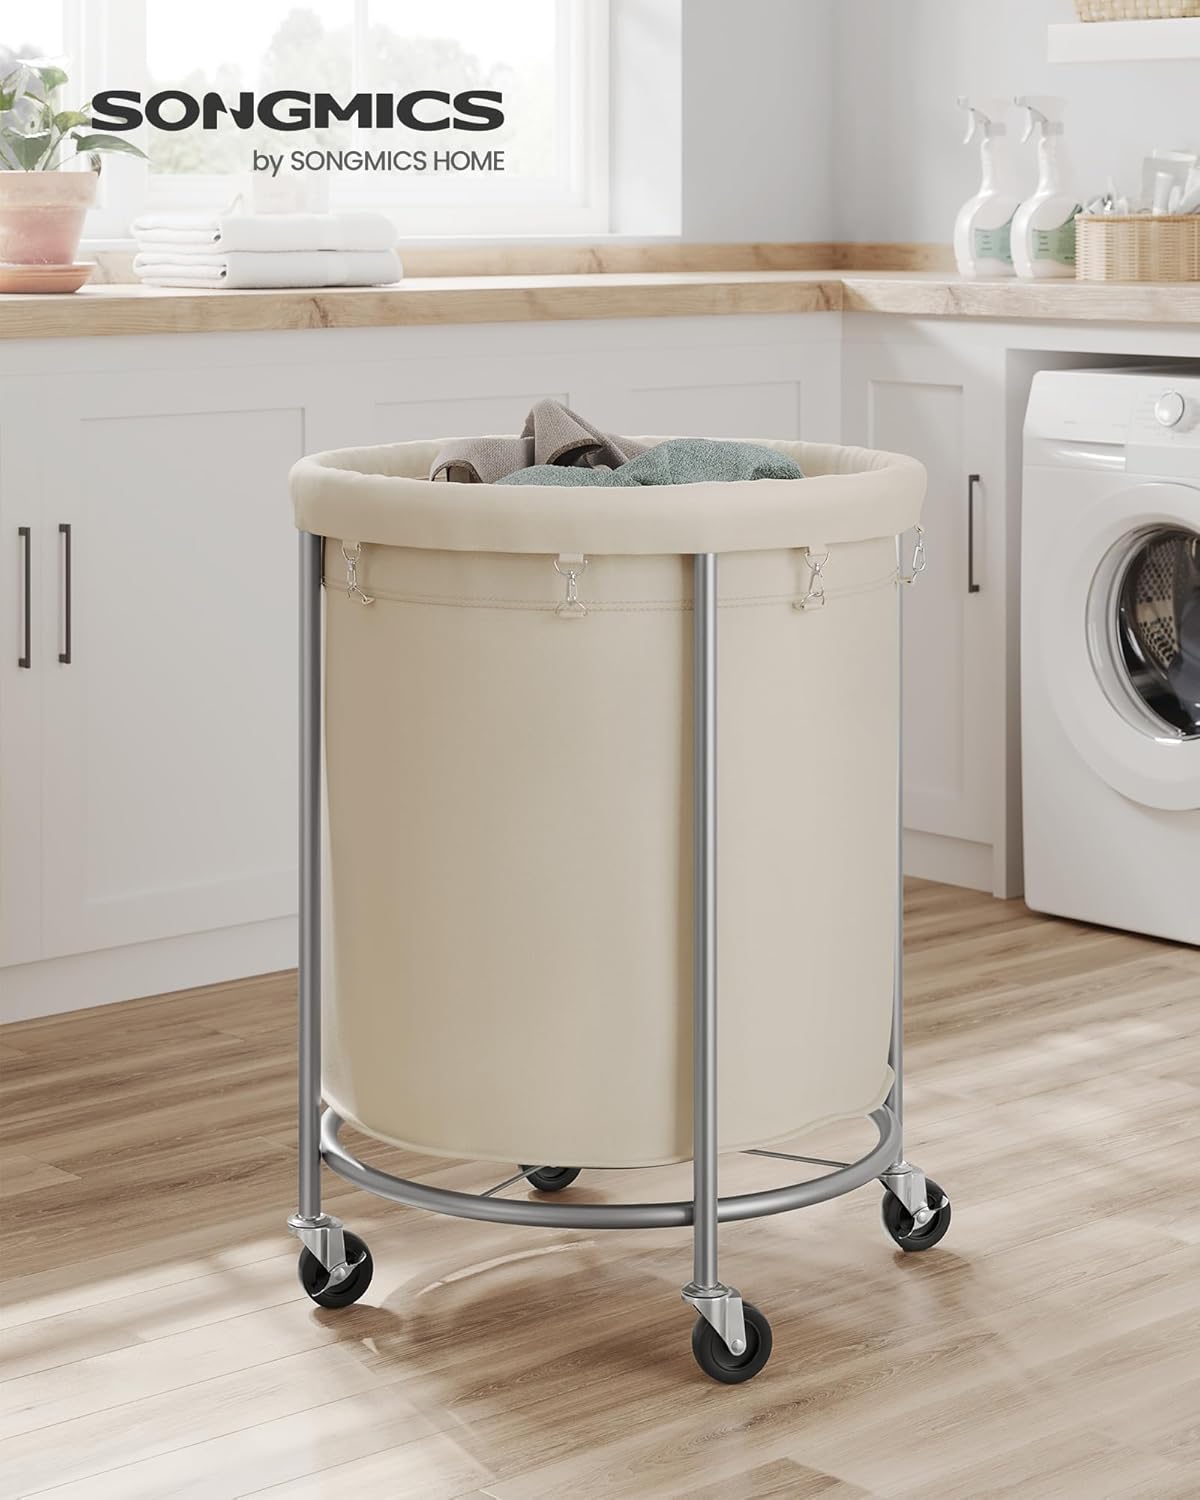
7. Eliminate Laundry Piles and Textile Accumulation
Stray garments destroy the visual calm of a bedroom or bathroom. Banishing these piles to the laundry room clears vital surface area. Consequently, this step prevents you from constantly shifting fabrics while trying to sanitize.
A heap of clothing draped over a modernist chair ruins the architectural intent. Moreover, navigating around an unstable pile of textiles wastes valuable time. First, swiftly deposit dirty items into a hamper.
Subsequently, hang or fold the clean garments. Immediately, the spatial volume of the room expands. Therefore, you can treat nightstands and bathroom tiles without the friction of rogue garments blocking your path.
8. Dismount Wall Hangings and Window Treatments to Streamline Spatial Prep
Wall-mounted objects obstruct access to the vertical planes and window tracks. Temporarily removing frames, mirrors, and curtains allows for unhindered wall washing. Furthermore, this grants direct access to heavily soiled window sills and blinds.
Vertical surfaces carry subtle layers of airborne grease and dust. Visually, the artwork breaks up the wall, making it difficult to execute long, continuous cleaning strokes. Carefully dismounting these pieces reveals the uninterrupted vertical plane.
Moreover, dropping the curtains exposes the architectural trim and window tracks. Ultimately, this comprehensive exposure guarantees that light will bounce cleanly off the newly polished glass and freshly dusted sills.
Executing these precise steps transforms a chaotic chore into an orderly protocol. Ultimately, when you prep a room for deep cleaning with architectural intention, the results speak for themselves. You ensure spatial integrity, maximize lighting behavior, and maintain absolute structural elegance.
Shop The Look

To prep a room for deep cleaning effectively, you must first eliminate spatial obstacles. This process involves clearing surface clutter, relocating lightweight furniture, and removing textiles like rugs or curtains. By exposing structural lines and baseboards first, you ensure maximum reach and a flawless, architectural-grade sanitation process without visual distractions.